Documentation
Usage of yaid3tagger is easy and very intuitive. However, most features are shown in the following six easy steps by tagging some MP3-files that were just extracted from a CD.
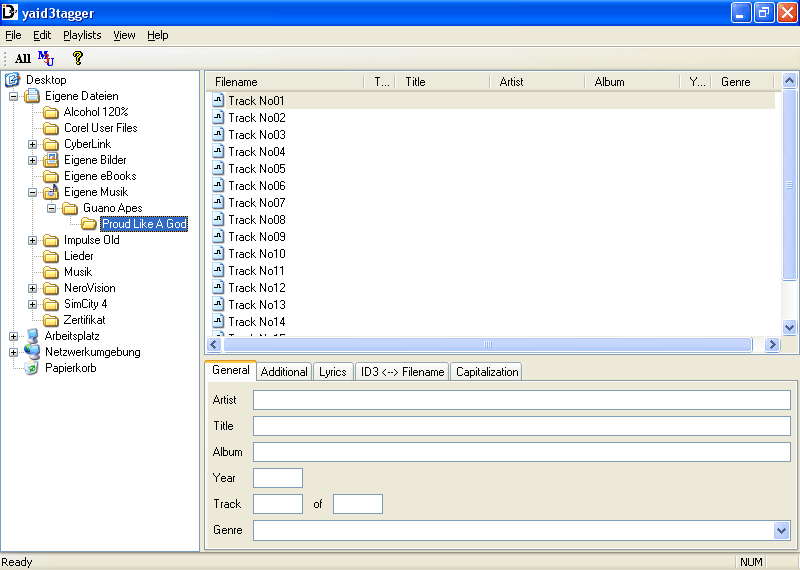
Step 1: Go to your MP3-files folder
Use the browser on the left to go to the folder that contains the MP3-files you'd like to tag. A list of all MP3-files appears in the window on the right.
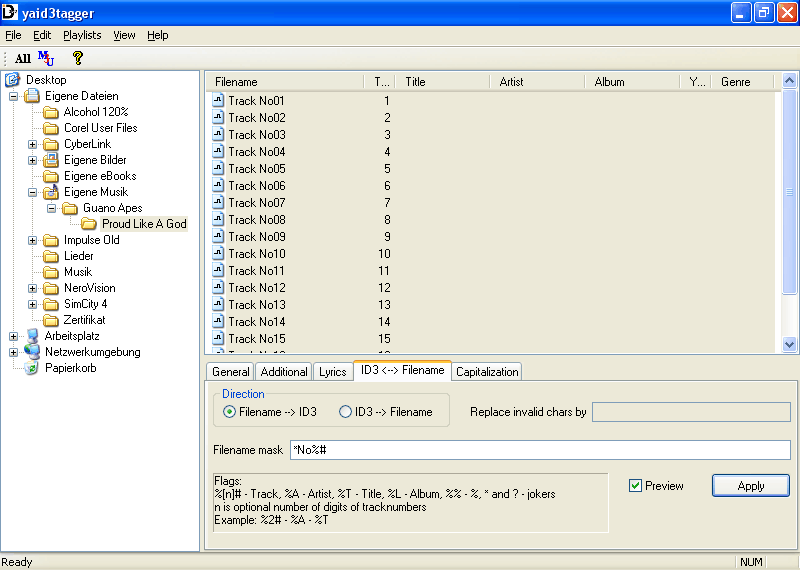
Step 2: Use information from the filenames
The filenames in the example contains the track numbers. This information can be extracted by yaid3tagger. Go to the ID3 <--> Filename tab in the lower right window. Then enter the appropriate mask for your filenames. Fields that are to be extracted start with a % sign. An overview is given in the image.
In our example *No%# is the right mask. The star joker (*) skips all charactes until the string after the joker is found. Track No%# would be possible, too.
Because Preview is enabled you see the results immediately without applying the changes. To apply your changes press the Apply button.
Please note: Tagging files for the first time can take a while. Because ID3V2 tags are placed at the beginning of a file the whole files has to be rewritten. If you make changes later the delay won't be noticable.
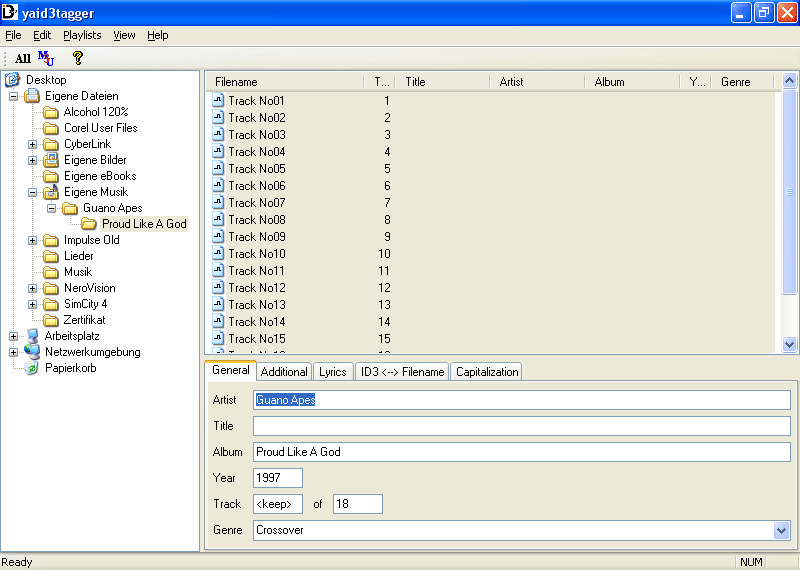
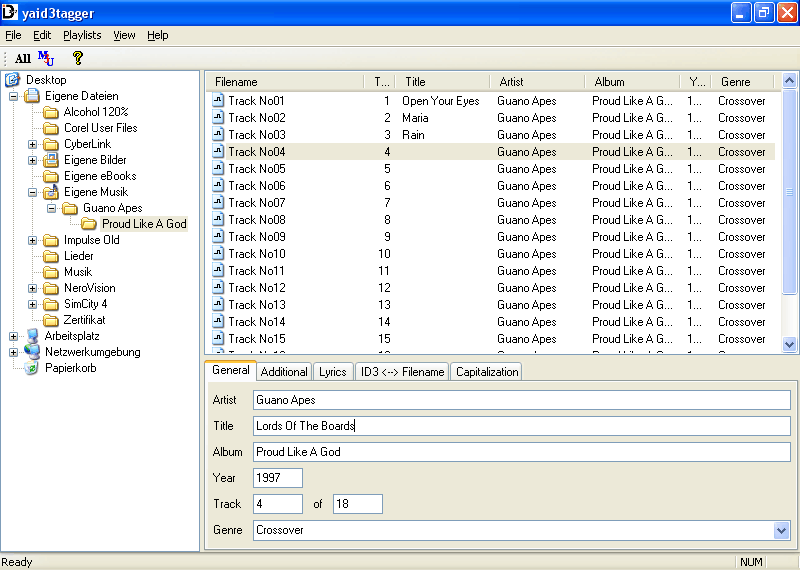
Step 3: Setting general information to all files
Select all files by pressing the All button in the toolbar. You can enter information that you'd like to apply to all files now. In the example artist, album, year, number of tracks and genre are enteres. Apply the changes by pressing the Enter key. The files are tagged and unselected then.
Step 4: Set individual information to each file
After that you can start to enter individual information to each file. Select one file and enter all necessary tags. Press the Enter key to apply the changes to the file. The next file in the list is chosen automatically. Additionally yaid3tagger remembers the first field you entered data. For example you can enter data in the Artist field, press the Tab key to reach the Title field, enter data and press the Enter key to apply changes. yaid3tagger automatically jumps to the next file and the Artist field where you entered the first data at the last file.
Step 5: Generate filenames from tags
In the fifth step we generate filenames from the tags. It works similar like Step 2. You just have to choose the second direction (ID3 --> Filename). In the example we first use the Artist, then a divider ( - ) and at last the Title.

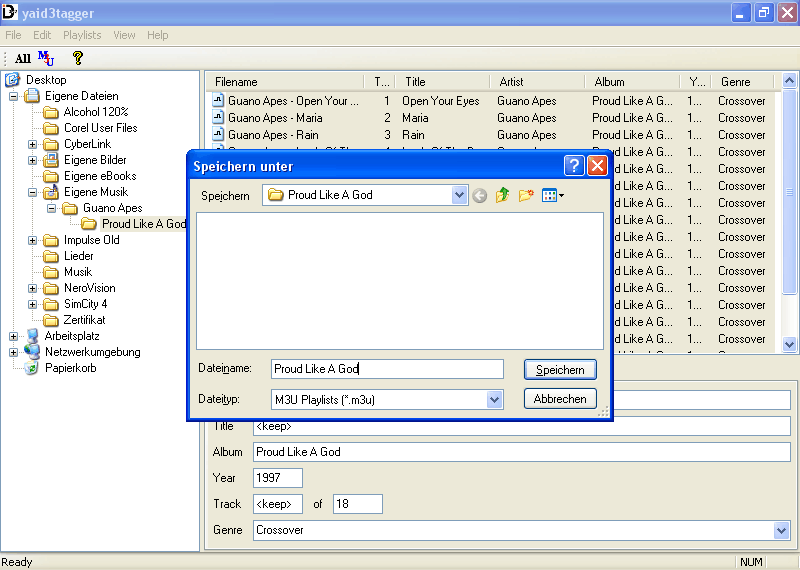
Step 6: Generate a M3U-playlist
Finally we generate a playlist from the MP3-files. Select the MP3-files you want to create a playlist from. Probably you want to create it in the order of the track numbers. Click the Track column in the filelist to sort the files by track number. Press the M3U button in the toolbar. A dialog pops up where you can enter the filename of the playlist. The initial folder is the folder that contains the MP3-files.